How to build the Torq Header pipe for the Warrior 350.
Aug 21, 2013 4:25:22 GMT -6
masteredfailure72 likes this
Post by sparky on Aug 21, 2013 4:25:22 GMT -6
I am only doing this thread because I am tired of taking my header pipe off to build these.
What is the Torq pipe? It is a modified Stock header pipe that increases the low end engine response. I played around with the idea of creating a header that takes some of the principles of the two stroke expansion chamber and apply them to our headers. The guys that I have sent them to have enjoyed them and kept them on their bikes. Maybe a few can chime in with honest results.

There is not a secret to the build really simple and straight forward.
Make a trip to your local muffle shop and tell them you want a piece of 2.5" pipe 5.5" long swedged down to the smallest they can with out deforming the pipe. The place that did them for me made them for $2.50 each. they can use scrap and make it between jobs.
Now comes the planning.
With a sharpie marker mark the straight area on the header where the expanded pipe will reside. Allow 1/4"/1/2" on the inside of your marks to insure you do not cut the pipe short.
Next mark the header where it enters the muffler pipe. this will be a reference mark when fitting the pieces together.
With the pipe marked up, remove header from the Warrior.
Cut out the section of pipe where the expanded section goes.
Now you will have a header cut into three pieces. Engine piece, muffler piece, and discard piece.
Fit expanded piece to the header pipe and ensure a snug fit. A file may be needed to help with fitting.
Mount First part of header to the engine.
Slide the expande piece onto the head pipe.

Slide the other piece of the header into the Expanded pipe and the muffler pipe lining up the mark that you made earlier with the muffler pipe.
Now adjust pipes around to where they are uniform, straight, not rubbing on anything,ect...
Mark again the place where the expanded pipe goes then remove all of the pipes.
Note where the second set of marks are and cut these marks leaving enough metal to engure a good weld. The better more acurate of a job you do here will just increase the overall performance.
Now reinstall all three pieces of the pipe onto the Warrior again.
Make a minimium of three tack welds per joint. Clamp your ground lead only to the header pipe!!!
Remove pipe again being careful not to break the welds.
Remove pipe and weld up the joints completely.
Test your welder to make sure that you aren't going to burn holes into the pipe. You can use the discarded piece of pipe for this.
I TIG mine but MIG or Flux core is fine too.
Next with all of the welding complete its time for the labor part of the job.
Clamp your header securely into a Vise with the Head flange pointing up.
Use a Die Grinder or some sort of rotary tool with a Burr bit installed, Grind the excess weld that Yamaha left in the opening of the pipe. Jusat as the other job the smoother and cleaner the better.
I hope this clarifies and helps anyone who wants to build one. It takes time but its worth it.


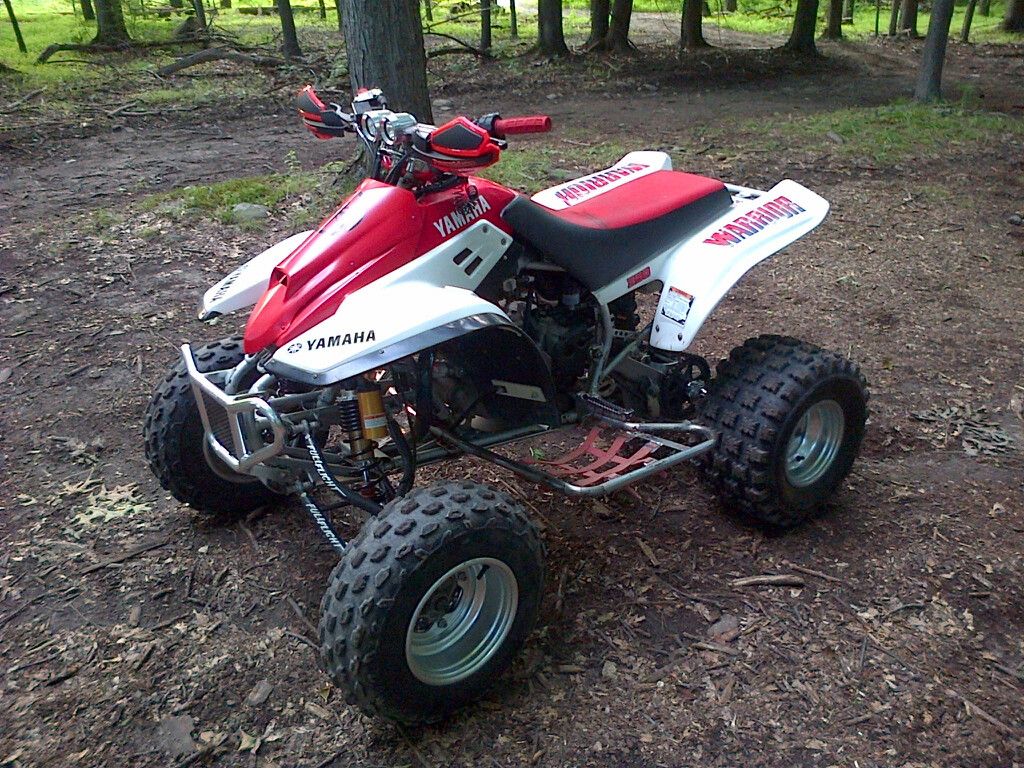
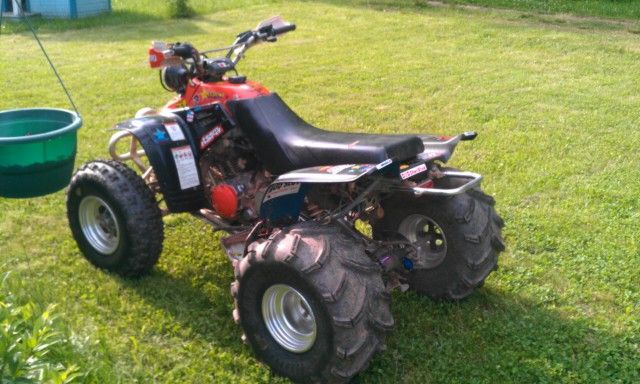
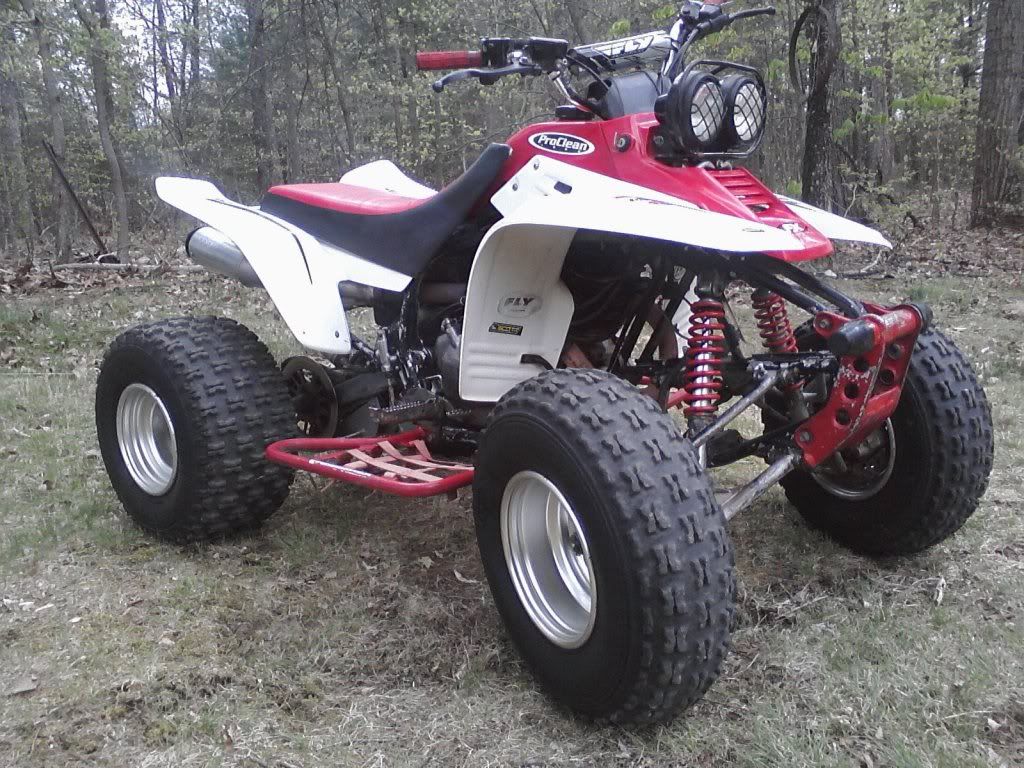
Some of these are old pics when I was first making these.
The first one is a later version.
What is the Torq pipe? It is a modified Stock header pipe that increases the low end engine response. I played around with the idea of creating a header that takes some of the principles of the two stroke expansion chamber and apply them to our headers. The guys that I have sent them to have enjoyed them and kept them on their bikes. Maybe a few can chime in with honest results.
There is not a secret to the build really simple and straight forward.
Make a trip to your local muffle shop and tell them you want a piece of 2.5" pipe 5.5" long swedged down to the smallest they can with out deforming the pipe. The place that did them for me made them for $2.50 each. they can use scrap and make it between jobs.
Now comes the planning.
With a sharpie marker mark the straight area on the header where the expanded pipe will reside. Allow 1/4"/1/2" on the inside of your marks to insure you do not cut the pipe short.
Next mark the header where it enters the muffler pipe. this will be a reference mark when fitting the pieces together.
With the pipe marked up, remove header from the Warrior.
Cut out the section of pipe where the expanded section goes.
Now you will have a header cut into three pieces. Engine piece, muffler piece, and discard piece.
Fit expanded piece to the header pipe and ensure a snug fit. A file may be needed to help with fitting.
Mount First part of header to the engine.
Slide the expande piece onto the head pipe.
Slide the other piece of the header into the Expanded pipe and the muffler pipe lining up the mark that you made earlier with the muffler pipe.
Now adjust pipes around to where they are uniform, straight, not rubbing on anything,ect...
Mark again the place where the expanded pipe goes then remove all of the pipes.
Note where the second set of marks are and cut these marks leaving enough metal to engure a good weld. The better more acurate of a job you do here will just increase the overall performance.
Now reinstall all three pieces of the pipe onto the Warrior again.
Make a minimium of three tack welds per joint. Clamp your ground lead only to the header pipe!!!
Remove pipe again being careful not to break the welds.
Remove pipe and weld up the joints completely.
Test your welder to make sure that you aren't going to burn holes into the pipe. You can use the discarded piece of pipe for this.
I TIG mine but MIG or Flux core is fine too.
Next with all of the welding complete its time for the labor part of the job.
Clamp your header securely into a Vise with the Head flange pointing up.
Use a Die Grinder or some sort of rotary tool with a Burr bit installed, Grind the excess weld that Yamaha left in the opening of the pipe. Jusat as the other job the smoother and cleaner the better.
I hope this clarifies and helps anyone who wants to build one. It takes time but its worth it.
Some of these are old pics when I was first making these.
The first one is a later version.